The color blue is a timeless classic. It has always been a favorite when it comes to interior decorating, largely because of its versatility and charm. But now, more than ever before, homeowners are expanding their love of all the numerous blue exterior house colors as well. From calming and serene to vibrant and bold, let’s talk about the very best shades of blue for your home’s exterior.
The color you choose for the exterior of your house can say a lot about you. Do you have a flair for being unique? Are you someone in touch with nature? Are you a risk-taker? The beautiful thing is, you get to choose the color that answers these questions, making your home an extension of you.
No matter what look you are going for when painting your home, it is guaranteed you can find a variety of blue that fits the bill. It can most certainly be subtle, leaning to a more neutral tone, or can be bright, bold, and electric.
HOW LONG DOES IT TAKE FOR PAINT TO DRY?
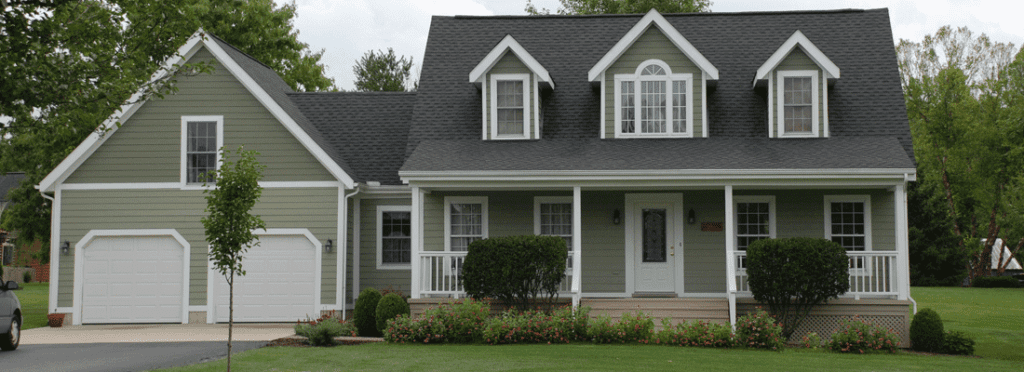
Blue Exterior House Colors
-
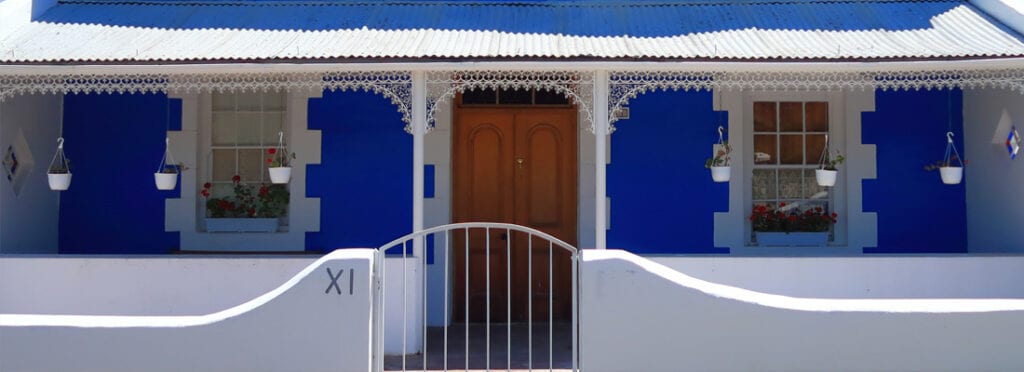
Navy and Dark Blue
A navy blue house exterior is eye-catching and unique. People tend to shy away from decorating with darker tones for their interior. Homeowners worry black or navy will make their rooms appear smaller than they are. But, these dark blues will not have that effect on the exterior of your home and are a welcomed change from the common tan, white or light gray that dominates most neighborhoods.
Navy is considered an elegant neutral and often gives off a nautical or beachy vibe. You can really play up the beachy feel when deciding on decor to hang on your front door and other exterior accents. Hale Navy paint by Benjamin Moore is dark blue with muted warm gray tones. Whether you go with a warm navy with gray undertones or a navy so dark it almost looks black, you will be adding to your curb appeal and receive praise from all your neighbors.
Lighter colors emphasize architectural details while contrasting colors bring attention to the lines and details. This explains why pairing a crisp white trim against your darker blues creates such a statement.
-
Blue Gray
Dusty blue has many of the same benefits as grey. Sometimes it is even hard to distinguish if a house is considered grey or dusty blue. This may possibly be one of the most popular paint trends of the year. Silver Mine by Behr is an excellent choice if you are going for this look. It’s a very subtle color that adds more personality than simply going with white or cream. It looks great when paired with stark white or even charcoal grey trim and shutters.
-
Light Blue
If you’re wanting a relaxing and dreamy look, choose a hue of light blue. When it comes to painting your home, this is one of our favorite blue exterior house colors. One of the benefits of a light blue house is that it easily matches other colors. There are only a few colors that don’t pair well with light blue that you’ll want to avoid. We recommend staying away from orange or red tones which can detract from a homey feel and look more like a sporting venue. Rather, go with natural wood or stone accents to compliment the cool tones.
You’ll want to be careful to not try mixing two different shades of blue. For example, don’t paint your siding navy and your trim a lighter shade of blue. To avoid clashing tones, stay with a single tone of blue and once again, choose whites, creams, or grays for trim and molding.
Choosing a lighter paint color has another advantage over darker tones. Lighter-colored paints last longer and fade much more slowly than their dark counterparts. Dark colors absorb heat and suffer more from moisture problems than lighter shades. Dark shades will require more time-consuming touch-ups since they fade much more rapidly.
-
Vintage Aqua Blue
The color aqua is a blue-green hue that is perfect for homes near the beach or any mass of water. Its warm tones give off a light and summery attitude. Even if your home isn’t exactly located near the oceanfront property, aqua can still be just the right amount of color kick your exterior needs.
-
Bright and Bold Blues
Do you want your home to stand out in a wonderful and unique way? If so, try an electric or brilliant blue. These tones tend to evoke a cheerful and radiant energy. This is one of the best blue exterior house colors if you’d like your home to really stand out.
Ever noticed how certain paints appear different during different times of the day? Or how natural sunlight affects the color differently than formal lighting? Paint may appear gray when the sun is directly overhead, then morph into a dusty blue at dusk. If you’re considering a brighter blue hue, these are important things to consider as this can have a major impact on how the paint will look on your home. Make sure you are happy with your choice before committing.
Front Door Colors to Go With Blue Houses
With a blue house, you can choose just about any color of front door you want. Some colors will look better than others depending on the shade of blue you are working with. But, some of our favorites are black, white, green, maroon, pale yellow, and warm wood stains. You can have a ton of fun with this and let your creativity show. Pale pink, rust, and pea-green can all add a pop of color without being too overbearing.
Trim
We find the best color of trim to pair with any shade of blue is white. The crisp and clean white in contrast to navy, gray-blue, or even bright blues, creates beautiful lines that are always satisfying and beautiful to come home to. Other trim options are black, dark grey, and cream.
Fixtures
If you are going to put time and energy into revamping the exterior of your home, don’t forget about the important details to complete the process. Light fixtures, door handles, window frames, and railings are all finishing touches you will want to address. Consider what style you are hoping for and go from there. All white fixtures will give a very different vibe than all
black. Modern farmhouse, colonial, contemporary, or rustic are styles you’ll want to be mindful of when deciding on fixtures.
Materials
What materials look best when paired with blue tones? Blue’s versatility to match well with other colors makes this question simple to answer. Most materials will complement blue and look great. River rock with its varied colors give a rustic feel while natural wood lends an earthy look. When you add wood into the mix with blue, no matter what the finish, you have a winning duo.
Conclusion
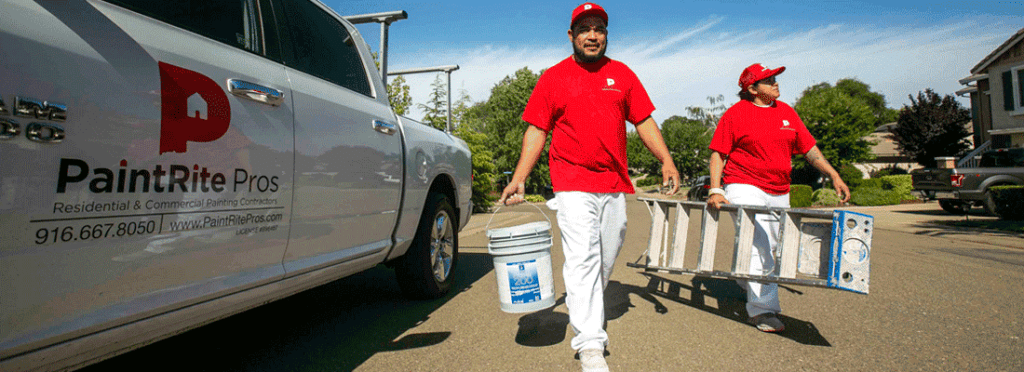
Painting the exterior of your home is a huge undertaking. Quality exterior paint not only adds a protective layer to your home but also adds to the aesthetic beauty. At PaintRite Pros, we know how much you value your home. New exterior paint not only adds curb appeal but is actually one of the most cost-effective forms of renovations, providing several visual and financial benefits.
It is very possible that your tastes have changed over the years and you are simply ready to update your exterior to a more modern color and look. Or maybe you never liked the color of your home when you purchased it and you are finally ready to take the leap and make a change. Hiring a professional exterior painting service to give your home a fresh coat of blue exterior house colors is an excellent way to improve your living experience and can turn your house into the place you love to come home to.
Contact us today with any questions you may have about choosing the perfect blue exterior house colors for your home or any questions you may have concerning any of your upcoming painting projects. If you live in the Sacramento area, we’ll give you a free quote! We serve the entire area including Folsom, Roseville, Stockton, El Dorado Hills, and Elk Grove. We also offer services for epoxy floors, interior painting, cabinet painting, fence painting, commercial painting, and more.
GET FREE ESTIMATE