
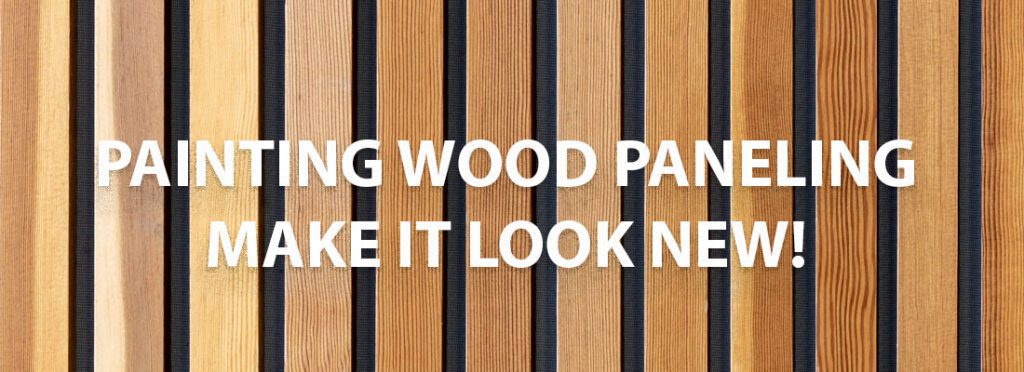
Wood paneling has a reputation for making a room look dark, outdated, and musty. But by painting wood paneling, you can make it add some serious rustic charm. This leaves homeowners wondering which direction to go in. Trying to remove wood paneling can be a difficult and daunting task. It can even damage your walls if not done correctly. Painting your wood paneling can have many creative outcomes without the risk of ruining your walls and leaving a fresh, new look.
Wood paneling is more versatile than once thought. With all the colors and painting techniques out there, there is no reason to spend your hard-earned money having it removed. From farmhouse to shabby chic, your old wood paneling can add character to any space.
More and more homeowners are deciding to update their home’s interior by painting their wood paneling instead of attempting to remove it. Here are a few different techniques and ideas to bring your old wood paneling back to life. If you need help painting your wood panels, contact us here for a free estimate. We’ve also included a video at the bottom to help walk you through the steps.
BEST INTERIOR PAINT COLORS FOR SELLING A HOUSE
Whitewash Your Wood Panels
The whitewash technique allows you to keep the unique wood grain texture of the walls, but ditch the deep color. The first step is to water down your paint. Then brush the paint on, immediately wipe, and repeat until you achieve your desired color. If your wood is high quality, this whitewash technique can preserve the beautiful detail.
Bold Colors
Sometimes with home improvements, we get afraid to think outside the box. But, the beauty is in the freedom we have to create what we envision. Don’t be afraid to lead with a bold color. Just because you are working with wood paneling doesn’t mean you can’t transform the entire look with color. Textured paints can also enhance this fun, bold look.
Blackout
Black is modern and can add sophistication and class to a room. Sometimes painting a smaller room dark can give it a more spacious feel. It is also a good way to disguise wood paneling you aren’t so fond of.
White
White is always classic and is currently all the rage. It can give your wood-paneled wall the “pop” to stand out in a great way. Use black, navy or dark grey as furniture and wall decor accents and you can’t go wrong. Add some simple greenery to complete your look.
Consistency is key when updating any room. Put your focus on the overall style and feel of your home and stay true to that. Whether you are going for a shabby chic look, an edgy vibe, or a modern farmhouse feel, keep the style constant throughout the entire space.
Painting Over Wood Paneling
As with any painting project, the proper prep work is crucial for successful results. Painting wood paneling can be tricky but rewarding if done right. Here are the simple steps you can follow.
1. Clean Molding and Paneling
Before attempting to do anything with your wood paneling, be sure to give it a thorough cleaning. Use a damp rag to wipe off all the dirt, dust, and cobwebs. If you find layers of greasy buildup, use a heavy-duty cleaner combined with water to get it off. Never paint over a dirty surface because the paint won’t adhere. It may also look quite sloppy because the paint will pick up the dirt and leave clumps instead of giving you a smooth finish.
2. Fill and Sand The Wood
Fill any cracks, holes, or dents in the wood with putty and allow time for it to dry. Lightly sand all of the paneling, along with the trim and moldings. The goal is to sand just enough to take off the sheen and create a lightly gritty surface the paint will stick well to. When you’re finished, wipe down with a damp cloth to remove any excess dust.
3. Caulk Around The Trim
Apply caulk to any gaps you may have between panels, and the panels and trim. Also, be sure to get around the doors and windows. Make sure you use a paintable caulk. Allow for plenty of time for the caulk to dry completely.
4. Prime The Panels
Apply a thin coat of primer to all the paneling using a foam sponge roller or brush. Use a brush to get into the seams, cracks, and corners where the roller can’t go. Watch for any drips. It’s best to use an oil-based primer or a water-based stain-blocking primer. This will prevent any wood stains or grease from coming through and ruining all your hard work.
5. Paint The Panels
Next, you will want to apply a thin coat of paint to all paneling surfaces. Start at the top and work your way down. Be sure to cover all gaps between the panels. Remove any excess paint that collects in the panel grooves. Let the first coat dry then apply a second coat. That second coat isn’t always necessary but is usually worth doing in the end.
6. Paint The Trim
Paint your trim the desired color. A glossier finish usually works best and is easy to keep clean. High gloss finishes help the trim stand out and creates a smoother surface.
Painting Wood Paneling Conclusion
As you can see, there are countless options when it comes to reviving your wood paneling. If you are in the process of starting a painting project of any kind, please reach out to the painting professionals at PaintRite Pros. We have a team of experts that will be more than happy to be of assistance in any way. We serve the entire Sacramento area including Woodland, Roseville, Arden-Arcade, Laguna, and Vineyard. Hablamos Espanol!